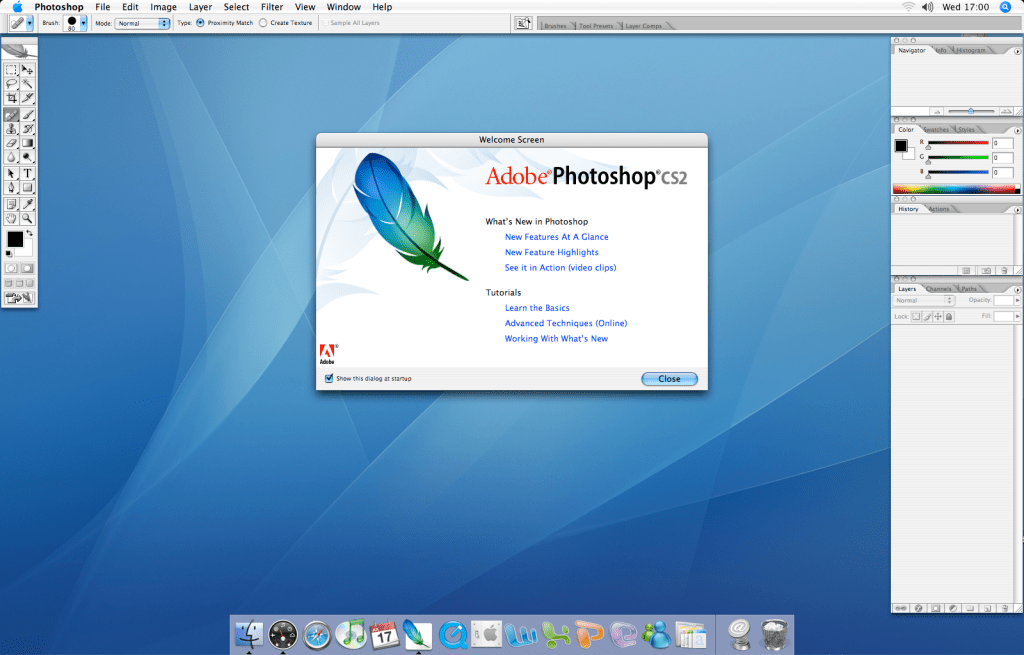
Why CS2? Simply, because I can.
I do use more up to date imaging programs when I need to. As I have a small collection of computers I feel I can justify there existence by getting them to do some work for me. What better way than to combine it with my photography? In addition, CS2 while over 15 years old (yes that’s right 15 years old!) has most of the tools I need to edit my images

Here is a typical image after being scanned with my Epson V370 scanner. There are two major issues to deal with. First there is the inherent dust problem. I am trying out different techniques when drying the negative and when I scan. Some are more successful than others, but the image above probably represents the least amount of dust I can achieve.
Then there is the issue of the scanner producing some horizontal line or banding. It doesn’t happen every time but when it does, I always seem to have one at the top of an image and one on the bottom, as can be seen in the image above.
So lets fire up CS2 on my Apple G4 “Cube” and see how I deal with these problems.

To deal with dust spots, I use the spot healing brush. In CS2 this had received attention and was enhanced from its predecessor. Simply clicking or click dragging on the dust and its gone.
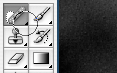
Occasionally I might use the clone stamp tool for more complicated areas of an image. If it is too difficult for the clone stamp, I then drag myself into 2021 and use Affinity Photo which normally sorts the problem out.
What about the lines or banding produced by the scanner? I would love to know why it happens but like so many things I have grown to accept and deal with it. Again the spot healing tool comes to the rescue! Since it is a straight line, I can use a cool tool built into the spot healing brush. I can click at the start of the line and by holding down the shift key and dragging I can get a straight line which the spot healing tool ‘repairs’. I have found it better to do small sections of similar tone or colour rather than one big continuous section.
Once these issues have been dealt with I typically will apply some sharpening to the image with the unsharp mask, as seen below

And that’s it.

While this is more time consuming, it gives me time to think about and control the finished image.

If you have the chance to buy a newer version somehow, the spot healing tool improved greatly in Photoshop CS5 and CS6. It’s almost magic how it anticipates the surrounding pixels and patterns.
LikeLike